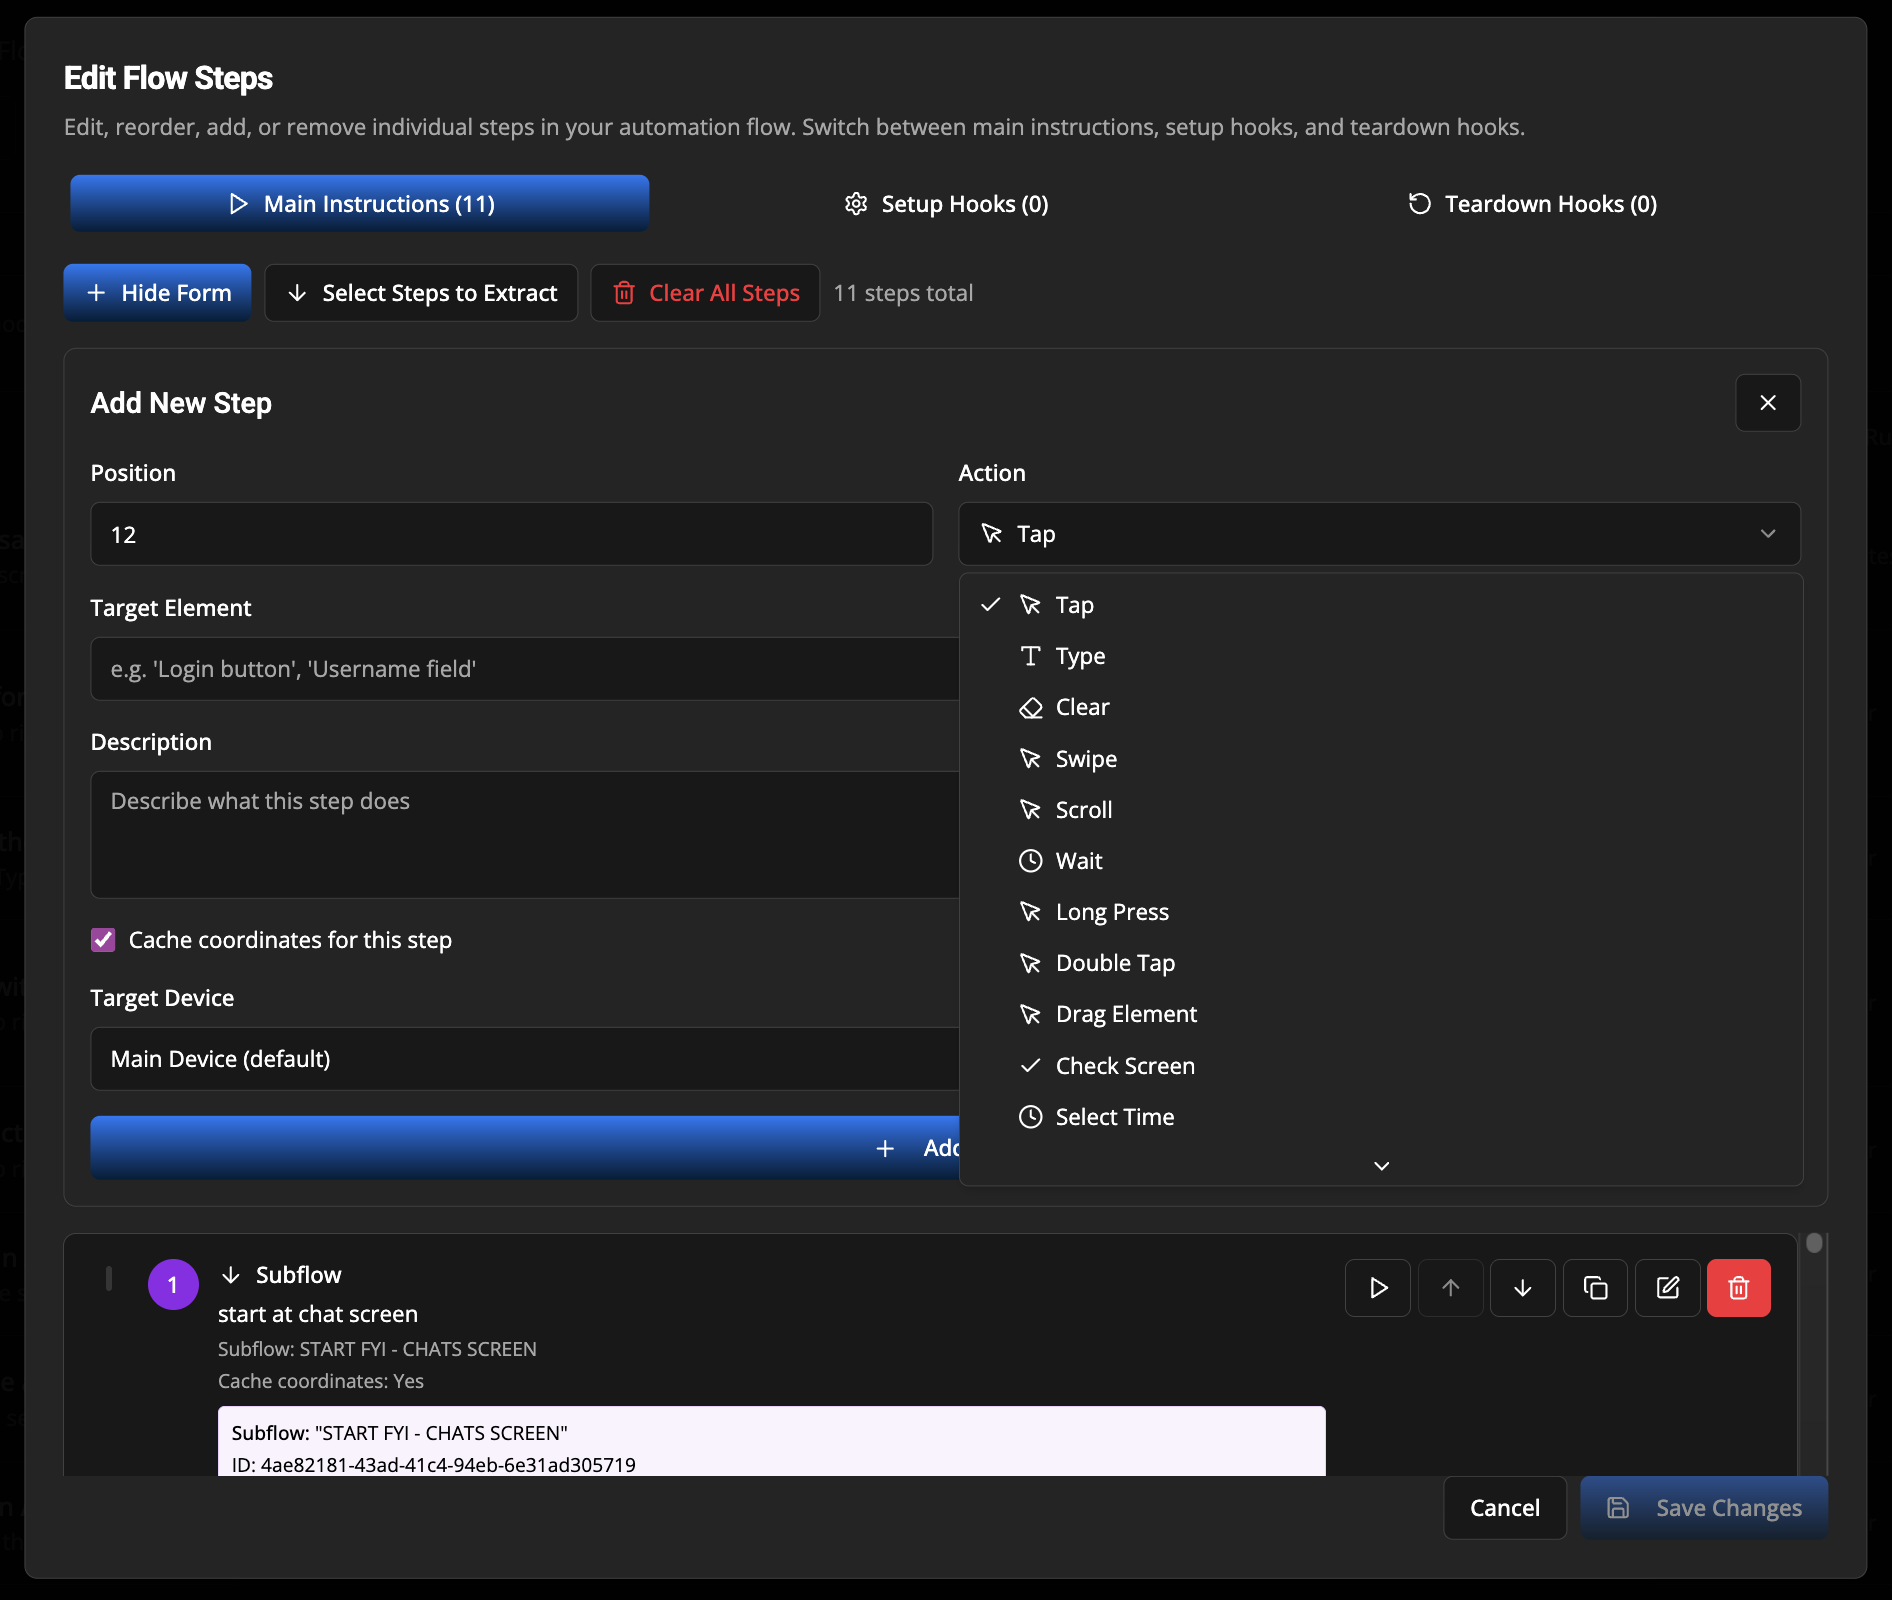
Supported Steps
This page lists all the available action types you can use when creating flow steps manually or through natural language processing.
Basic Interaction Actions
- Tap - Tap or click on an element or coordinates
- Type - Type text into a field (supports fake data generation)
- Clear - Clear text from input fields
- Long Press - Long press on an element (supports custom duration)
- Double Tap - Double tap on an element
- Verify Screen - Use AI vision to verify screen conditions with true/false responses
Navigation & Control
- Swipe - Swipe in any direction (up, down, left, right) or to coordinates
- Scroll - Scroll on the screen
- Custom ADB - Execute custom ADB commands
- Subflow - Execute another flow as a subflow
- Play Audio - Play audio files from the server/audio/ directory
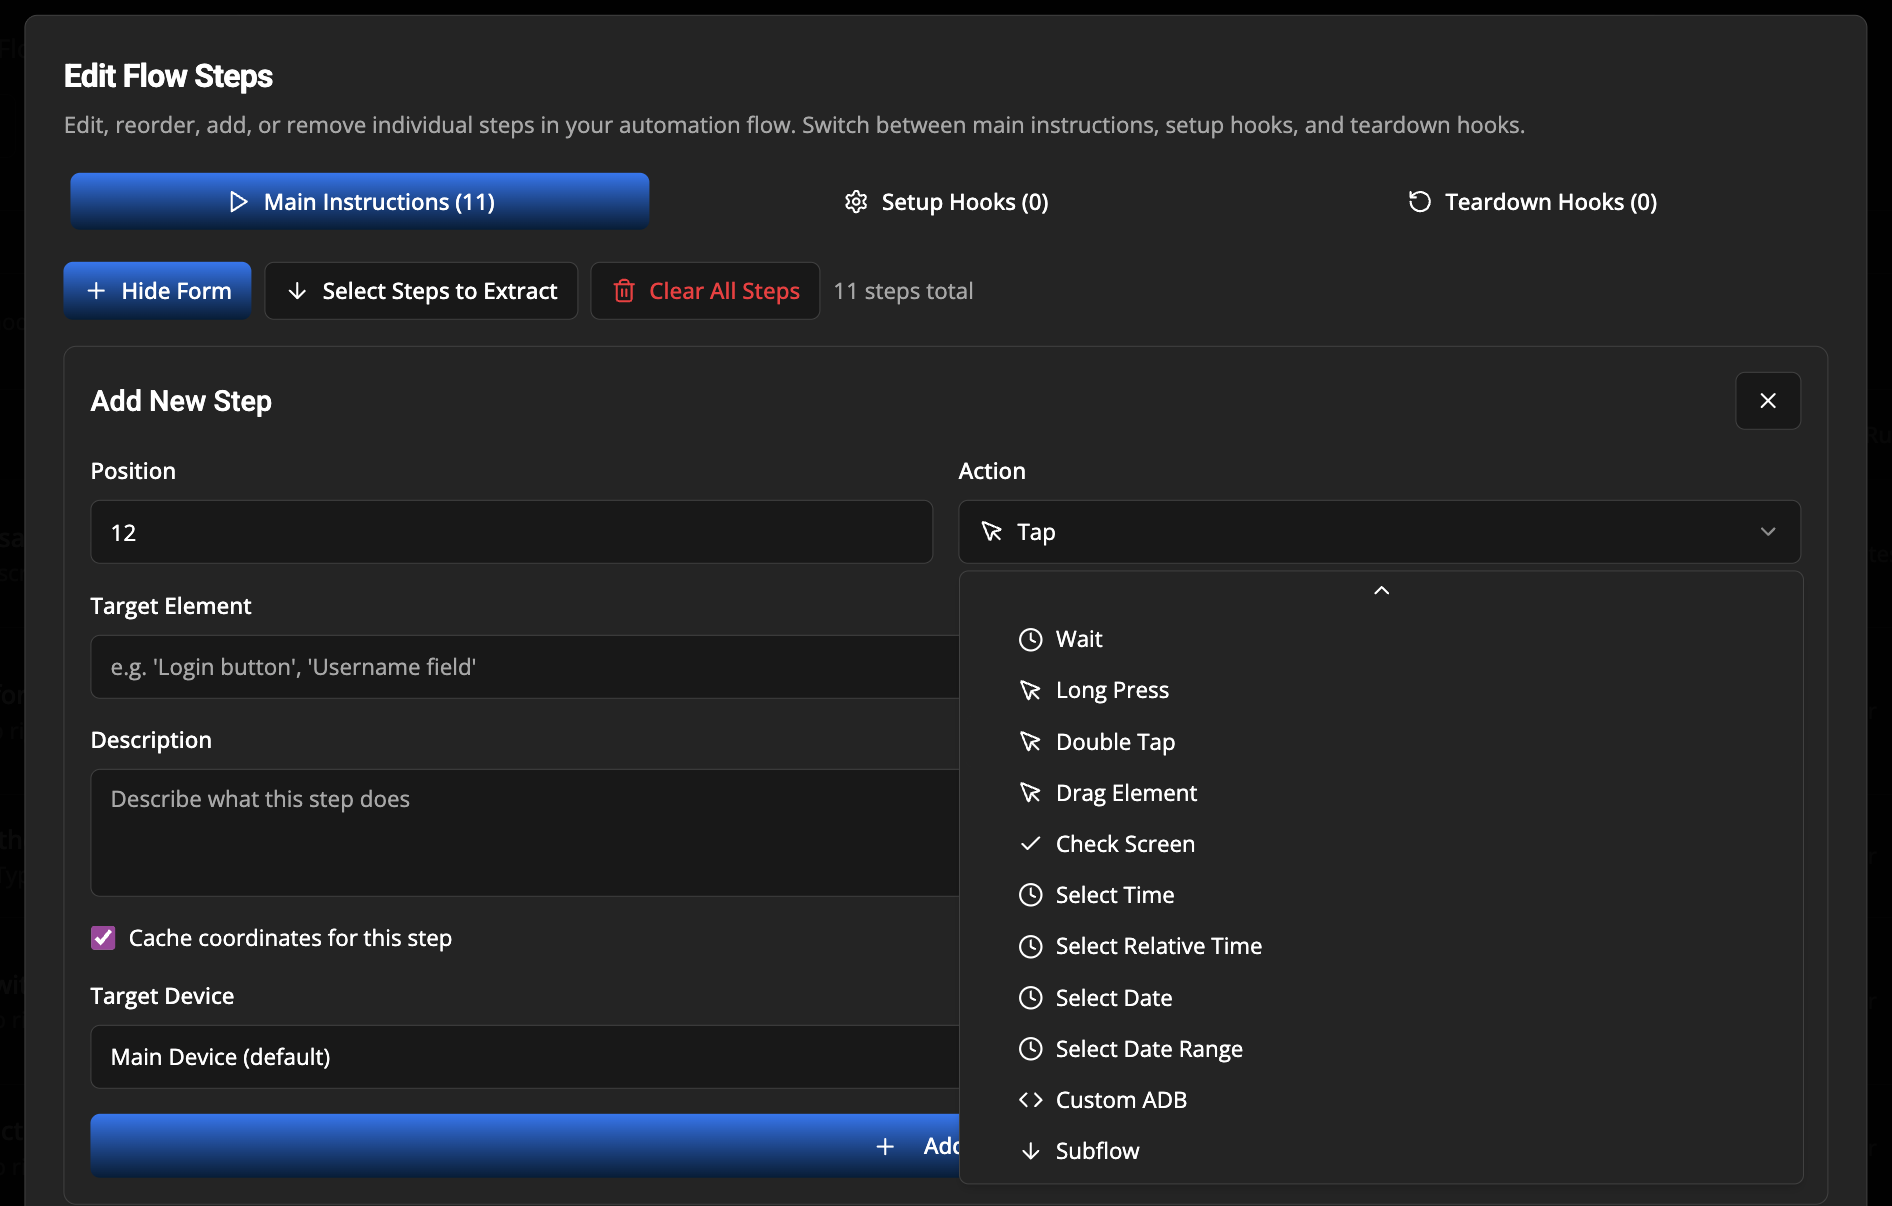
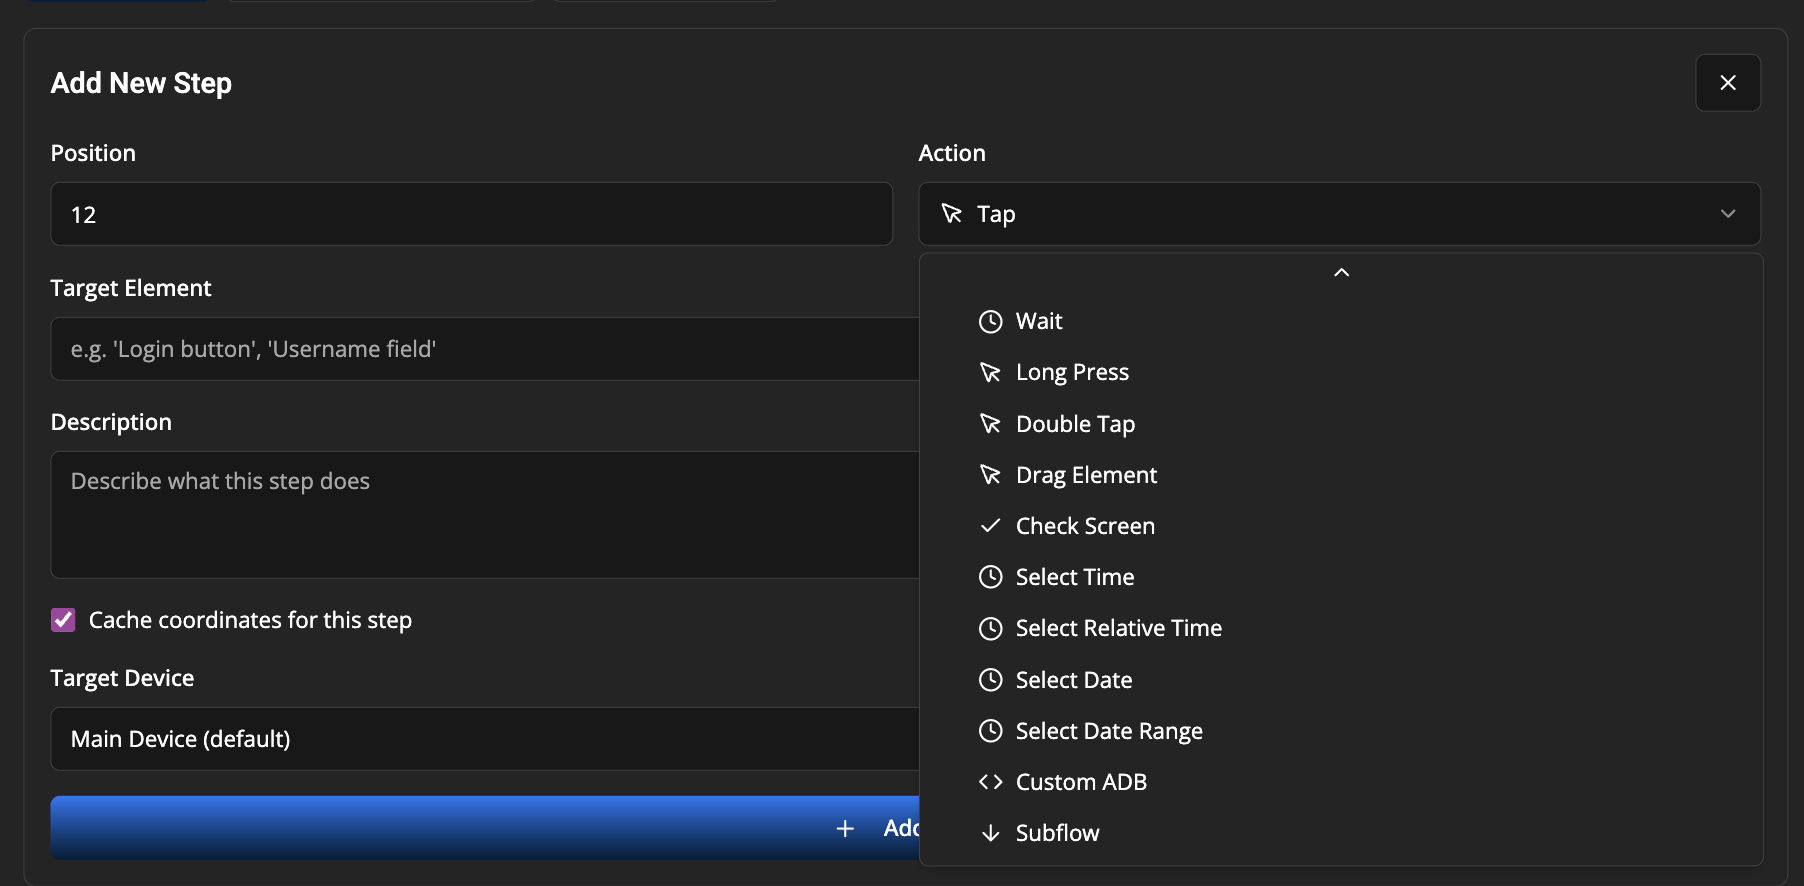
Time & Date Selection
- Select Time - Select specific time from time picker
- Select Relative Time - Select time relative to current time (e.g., "2 hours from now")
- Select Date - Select date from date picker
- Select Date Range - Select a date range with start and end dates
Screen Analysis
- Verify Screen - Use AI vision to verify screen conditions with true/false responses
Advanced Actions
- Drag Element - Drag from one element to another
- Play Audio - Play audio files from the server/audio/ directory
Advanced Step Editing
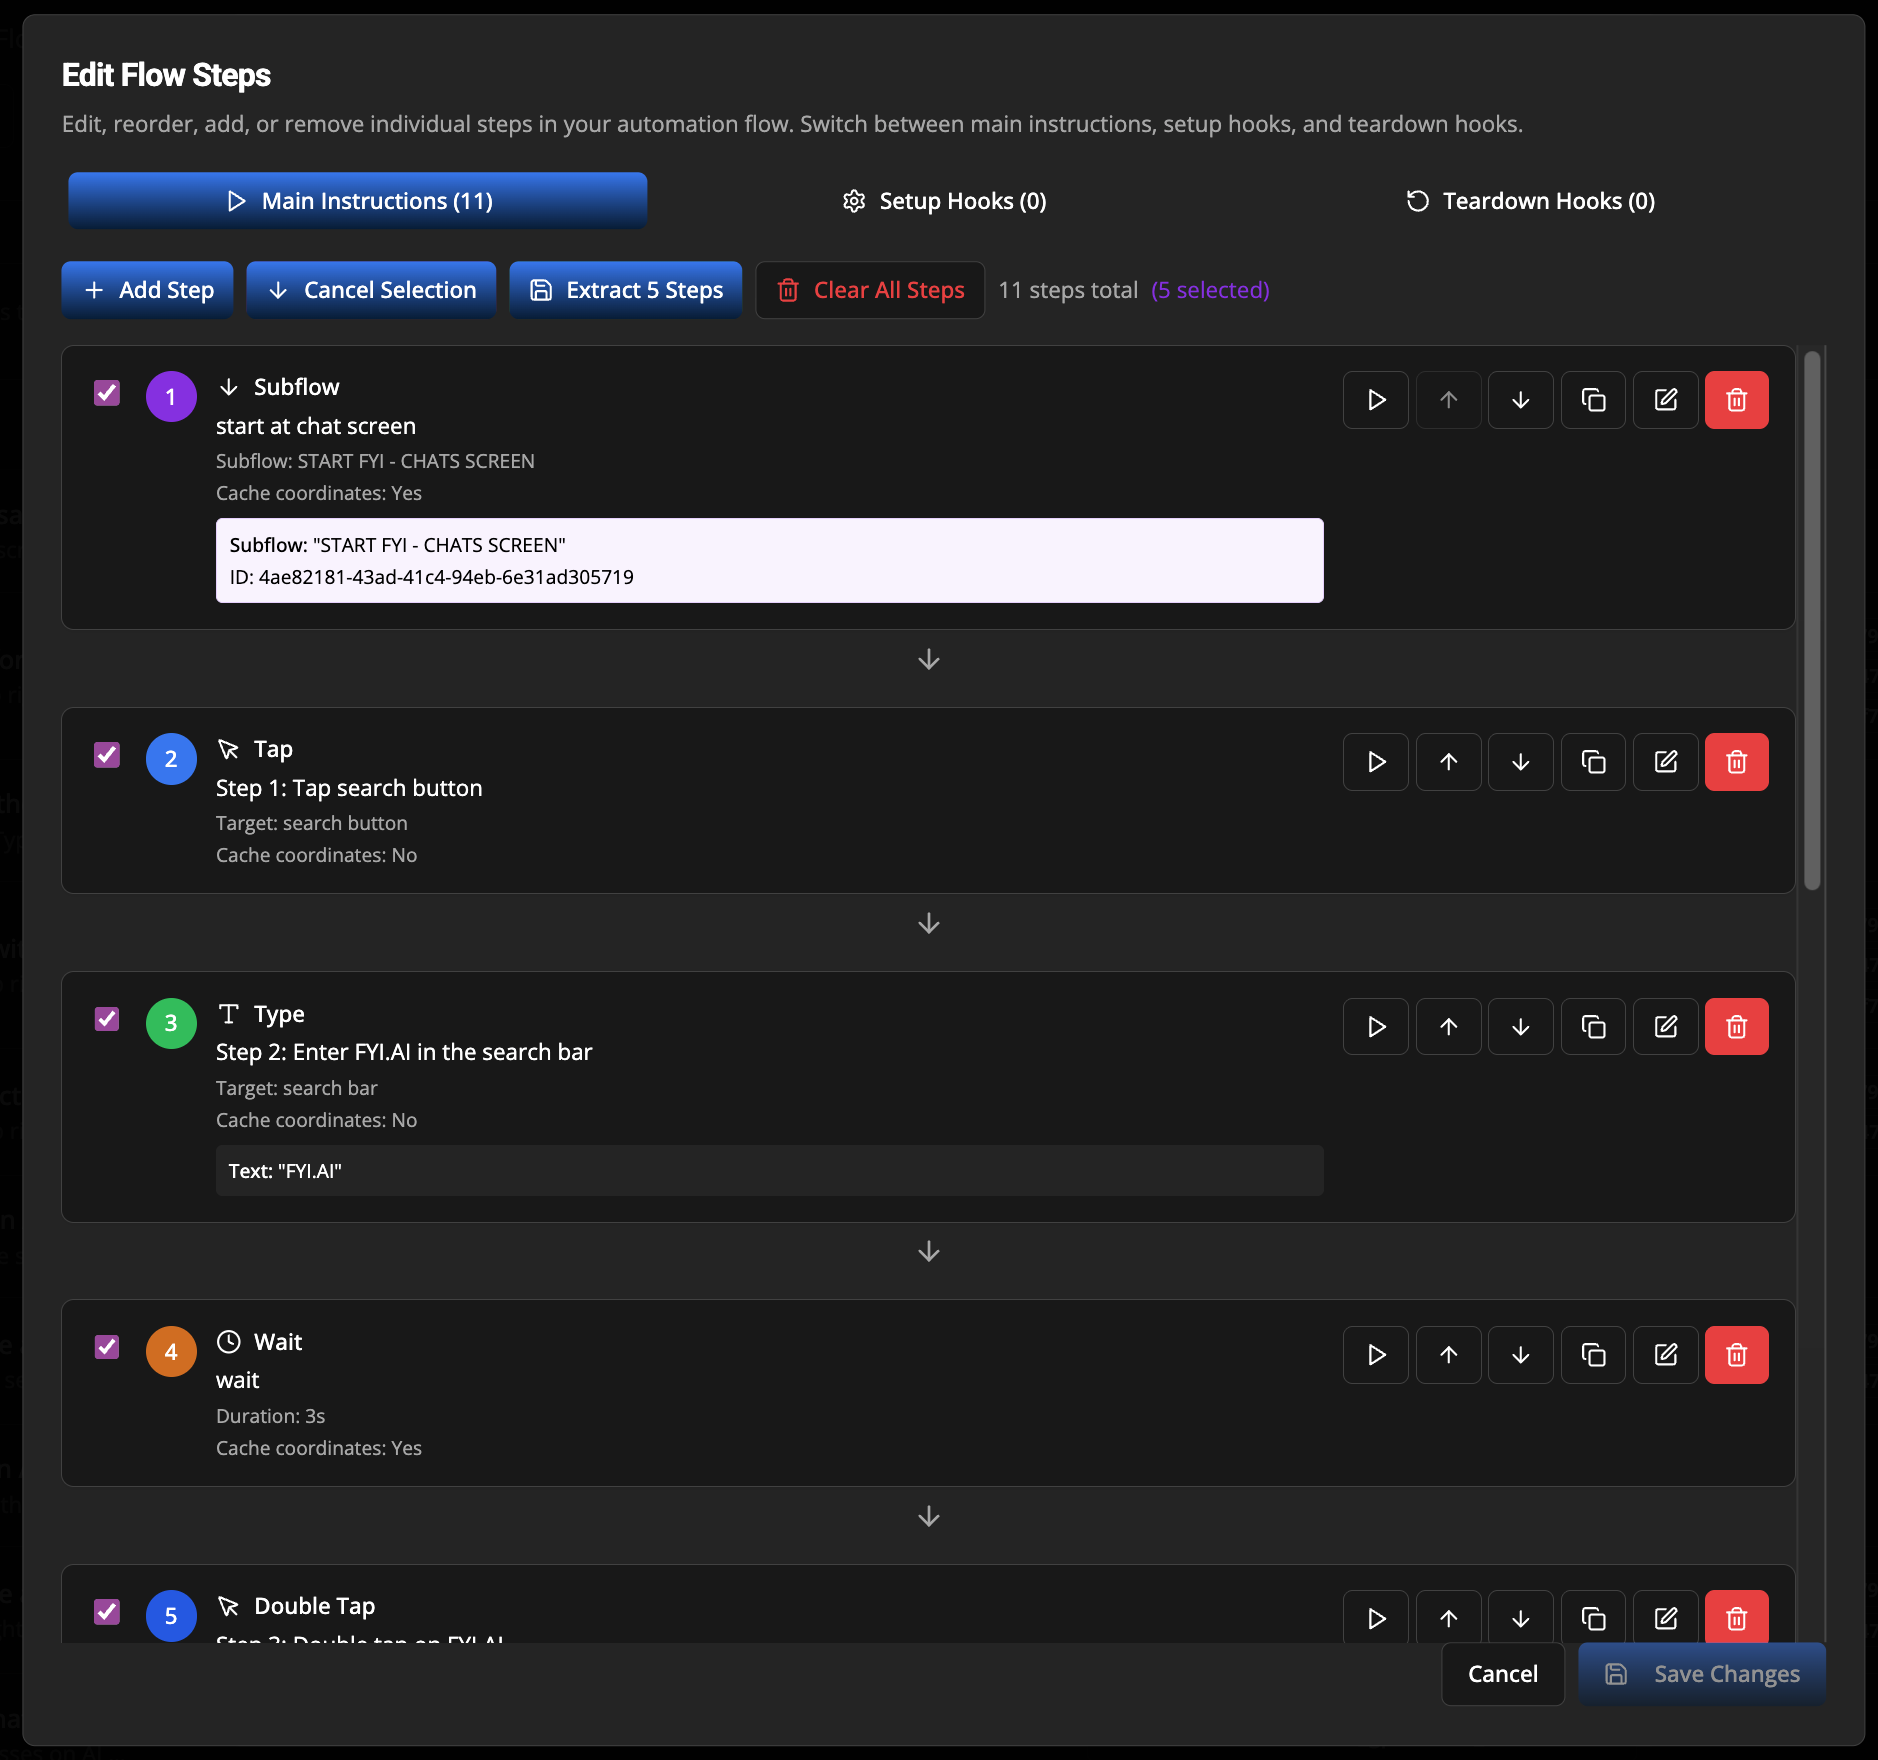
The Flow Steps Editor provides powerful tools for creating and managing complex automation sequences. This section covers advanced editing features and detailed field requirements for each step type.
Step Editor Interface
Main Functions
- Add Step - Insert new steps at specific positions in the flow
- Edit Step - Modify existing step properties and parameters
- Delete Step - Remove unwanted steps from the flow
- Duplicate Step - Create copies of existing steps
- Move Steps - Reorder steps using up/down buttons or drag-and-drop
- Execute Step - Test individual steps without running the full flow
- Extract Steps - Create subflows from selected consecutive steps
Step Management Features
-
Drag-and-Drop Reordering
- Click and drag the grip handle (⋮⋮) to reorder steps
- Visual feedback during dragging with opacity changes
- Automatic position updates
-
Step Selection for Extraction
- Enable "Select Steps to Extract" mode
- Click checkboxes to select consecutive steps
- Extract selected steps as reusable subflows
- Validation ensures selected steps are consecutive
-
Individual Step Execution
- Click the play button (▶) next to any step
- Executes only that step on the target device
- Useful for testing and debugging individual actions

Step Fields and Requirements
Basic Interaction Actions
Tap
- Target Element (required): Element to tap on screen
- Cache Coordinates (optional): Store element position for faster subsequent executions
- Device (optional): Target device (defaults to main device)
Long Press
- Target Element (required): Element to long press
- Duration (required): Press duration in seconds (default: 3 seconds)
- Cache Coordinates (optional)
- Device (optional)
Double Tap
- Target Element (required): Element to double tap
- Cache Coordinates (optional)
- Device (optional)
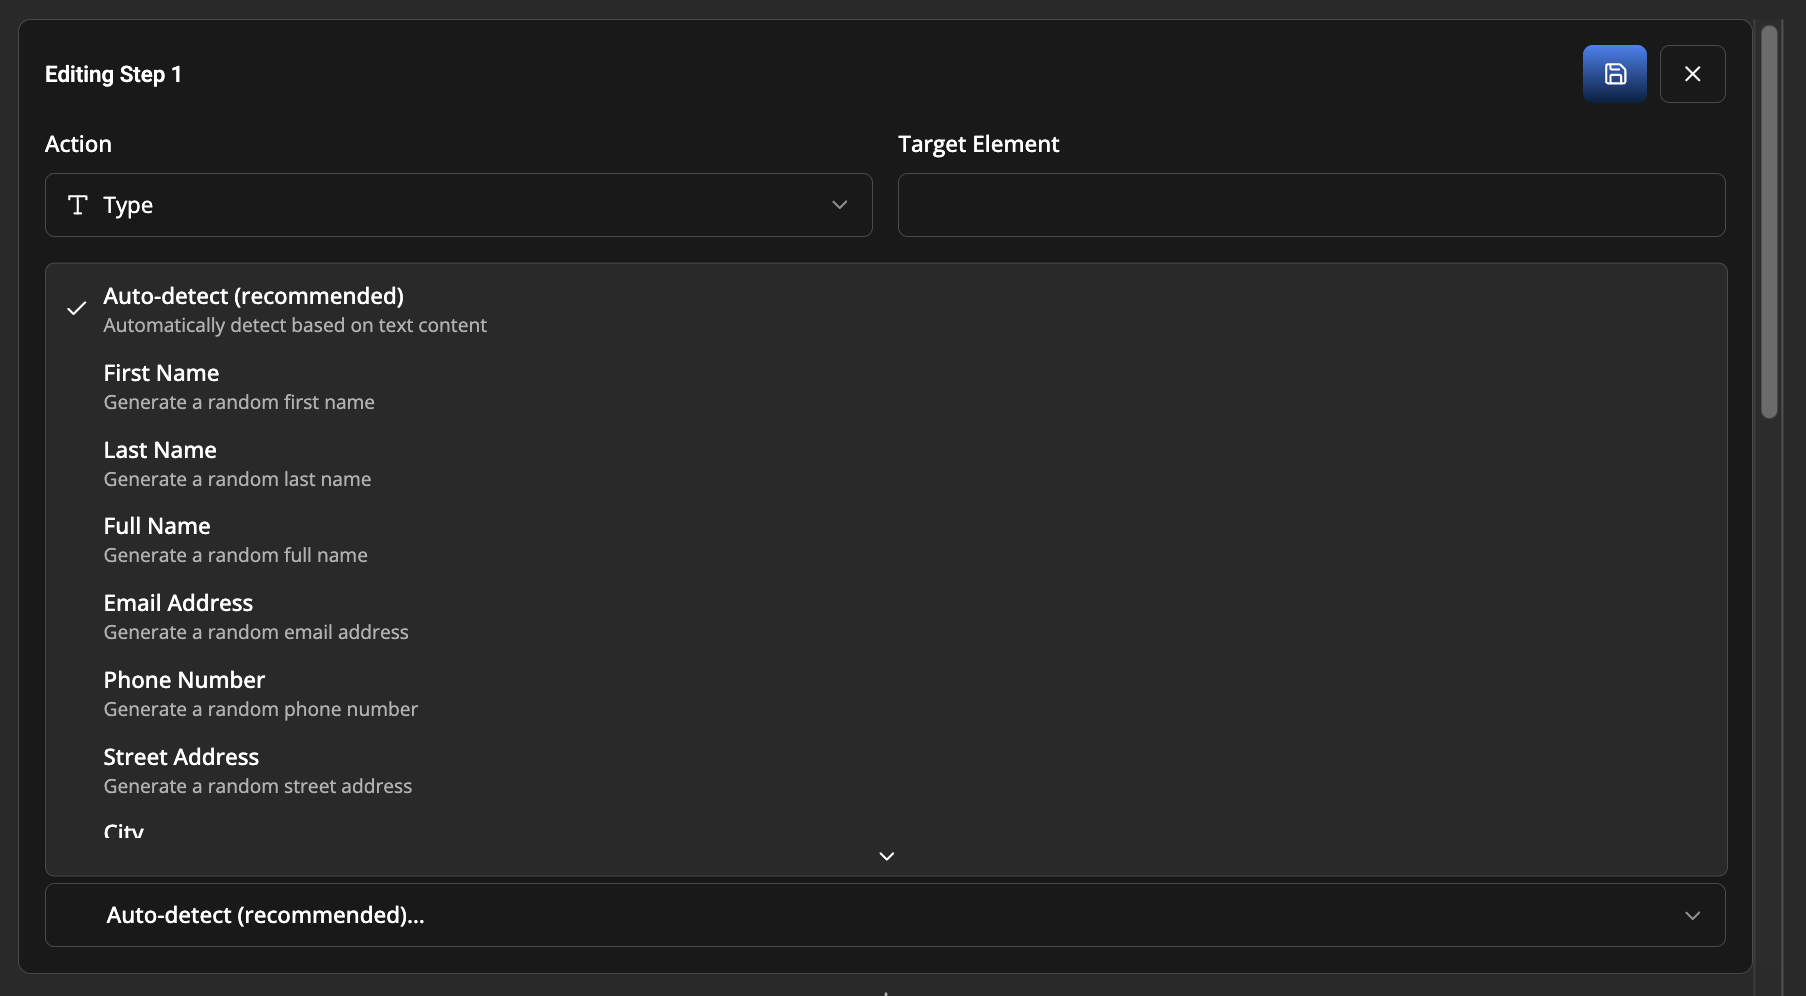
Type
- Text (required when not using fake data): Text to type
- Target Element (optional): Input field to focus (auto-detected if not specified)
- Use Fake Data (optional): Generate realistic test data instead of manual text
- Fake Data Type (required if using fake data):
auto- Auto-detect based on contextfirstName,lastName,fullName- Name generationemail- Email address generationphone- Phone number generationaddress,city- Address generationcompany- Company name generationpassword- Password generationfood- Food item generationsafeUrl,youtubeUrl- URL generationwords- Random lorem ipsum words
- Cache Coordinates (optional)
- Device (optional)
Clear
- Iterations (required): Number of clear attempts (default: 100)
- Cache Coordinates (optional)
- Device (optional)
Navigation & Control
Swipe
- Target Element (optional): Element to swipe from
- Direction (required):
up,down,left,right - Distance (required): Swipe distance in pixels (default: 300)
- Cache Coordinates (optional)
- Device (optional)
Scroll
- Target Element (optional): Area to scroll in
- Direction (required):
up,down,left,right - Distance (required): Scroll distance in pixels (default: 300)
- Cache Coordinates (optional)
- Device (optional)
Custom ADB
- ADB Command (required): ADB shell command to execute
- Timeout (required): Command timeout in seconds (default: 30)
- Device (optional)
Time & Date Selection
Select Time
- Target Time (required): Time in format like "2:30 PM" or "14:30"
- Validate Selection (optional): Verify time was set correctly
- Max Scroll Attempts (optional): Maximum attempts to find time (default: 10)
- Device (optional)
Select Relative Time
- Hours (required): Hours from now (can be negative)
- Minutes (required): Minutes from now (can be negative)
- Validate Selection (optional)
- Max Scroll Attempts (optional)
- Device (optional)
Select Date
- Target Date (required): Date in formats like "2024-12-25" or "December 25, 2024"
- Validate Selection (optional)
- Max Scroll Attempts (optional)
- Device (optional)
Select Date Range
- Start Date (required): Beginning date of range
- End Date (required): Ending date of range
- Validate Selection (optional)
- Max Scroll Attempts (optional)
- Device (optional)
Screen Analysis
Verify Screen
- Verification Query (required): Question about the current screen state that can be answered with true/false
- Device (optional)
- AI Response: Ollama AI analyzes the screen and responds with only "true" or "false"
- Flow Behavior:
- If "true": Flow continues to next step
- If "false": Flow execution stops with failure
- Variable Support: Use
${variableName}syntax to reference data from previous steps - Query Examples:
- "Is there a blue submit button on screen?"
- "Does the welcome message contain the user's name?"
- "Is the error message visible?"
- "Has the loading spinner disappeared?"
- Technical Details:
- Takes a fresh screenshot of the current device screen
- Sends screenshot and query to Ollama API (default: localhost:11434)
- Makes 3 parallel requests for reliability and uses majority voting
- Parses response to extract true/false answer
- Supports both direct queries and variable substitution
- Requires Ollama service to be running and configured (see Configuration Requirements)
Understanding Verify Screen
Verify Screen
- Purpose: Screen state validation with binary outcomes
- Response: Returns true/false based on screen condition
- Use Case: "Validate that screen meets specific criteria"
- Flow Impact: Stops flow if verification fails
- Example: Verify "Success message is visible after login"
Best Practices for Verify Screen
Query Formulation
-
Be Specific: Use clear, unambiguous questions
- Good: "Is there a green 'Submit' button at the bottom of the screen?"
- Poor: "Is there a button?"
-
Binary Questions: Frame questions that can be answered with true/false
- Good: "Is the error message visible?"
- Poor: "What error message is shown?"
-
Context Awareness: Include relevant context in queries
- Good: "Is the user's email address displayed in the profile header?"
- Poor: "Is email there?"
Variable Integration
-
Dynamic Validation: Reference data from previous steps
Step 3 (Type): Enter "john.doe@example.com" in email field
Step 7 (Verify Screen): Is the email "${step3text}" visible in the profile? -
Multi-step Validation: Chain multiple verifications
Step 5 (Verify Screen): Is the "Welcome ${step2text}" message shown?
Step 8 (Verify Screen): Has the loading spinner disappeared?
Error Handling
- Service Dependencies: Ensure Ollama is running and properly configured before using verify_screen
- Configuration Requirements: Set
OLLAMA_BASE_URLandOLLAMA_MODEL_IDinserver/.env - Network Considerations: Verify screen requires API calls to Ollama service
- Fallback Strategies: Use multiple verify_screen steps for comprehensive validation
Performance Tips
- Strategic Placement: Use verify_screen at critical validation points
- Avoid Overuse: Don't verify every minor UI change
- Combine with Waits: Add wait steps before verify_screen for dynamic content
Advanced Usage
- Complex Conditions: Break complex verifications into multiple steps
- State Validation: Verify application state transitions
- Data Integrity: Confirm data persistence after actions
Ollama Configuration Requirements
To use the Verify Screen step, you must configure Ollama in your server/.env file:
# Ollama Configuration (for screen verification)
OLLAMA_BASE_URL=http://localhost:11434
OLLAMA_MODEL_ID=your-model-id-here
Setup Steps:
- Install Ollama: Download and install from https://ollama.ai
- Pull a Vision Model: Run
ollama pull <model-name>- Recommended:
ollama pull qwen3-vl:30b-a3b-instruct-q8_0(or anyqwen3-vlmodel) - Alternative models:
ollama pull llavaorollama pull bakllava
- Recommended:
- Start Ollama Service: Ensure Ollama is running (usually starts automatically)
- Configure Environment: Set
OLLAMA_BASE_URLandOLLAMA_MODEL_IDinserver/.env - Verify Connection: Test with
curl http://localhost:11434/api/tagsto see available models
Important Notes:
- The
OLLAMA_MODEL_IDmust match a vision-capable model you've pulled (models that support image input) - Recommended Model:
qwen3-vl:30b-a3b-instruct-q8_0or anyqwen3-vlmodel variant - Other supported vision models:
llava,bakllava,llava:13b, etc. - If Ollama is not configured, verify_screen steps will fail with a clear error message
- The verification makes 3 parallel requests for reliability and uses majority voting
Advanced Actions
Drag Element
- Source Element (required): Element to drag from
- Target Element (required): Element to drop on
- Long Press Duration (required): Initial press duration in seconds (default: 1)
- Cache Coordinates (optional)
- Device (optional)
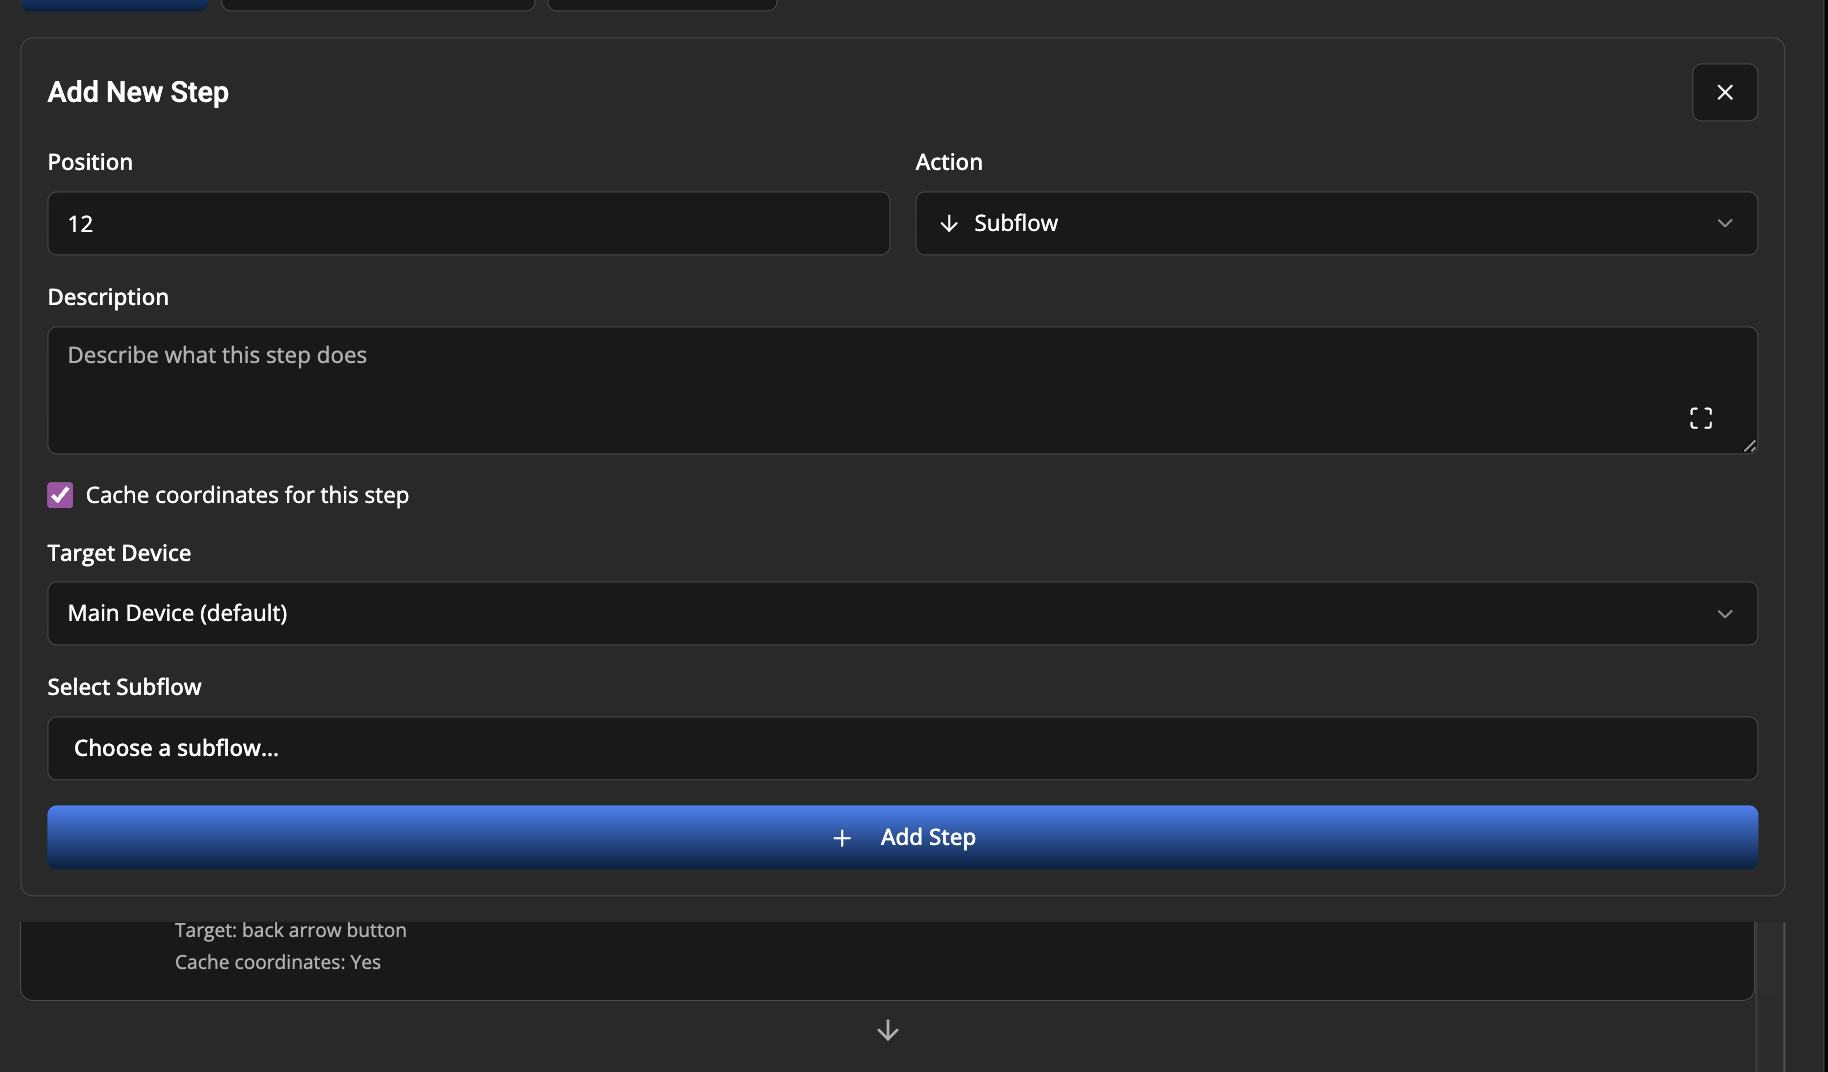
Subflow
- Subflow Selection (required): Choose from available subflows
- Device (optional): Inherits from subflow unless overridden
Play Audio
- Audio File (required): Select from available audio files in server/audio/ directory
- Device (optional): Target device (defaults to main device)
- Supported Formats: .mp3, .wav, .m4a, .aac, .ogg, .flac (maximum file size: 50MB)
- File Management: Audio files can be managed through the Audio Management interface
- Default File: If no file is specified, defaults to "pasta.mp3"
- File Loading: The system automatically loads available audio files from the server directory

Record Audio
- Duration (required): Recording duration in seconds (default: 5 seconds)
- Device (optional): Target device to record audio from
- Output Format: Recordings are saved as WAV files with randomized filenames
- Storage: Audio files are stored in the
/record-audiodirectory with automatic hourly cleanup - Variables Stored:
step{N}AudioFile- The filename of the recording (e.g.,step1AudioFile,step2AudioFile)step{N}AudioFilePath- Full path to the recording file
- Example Usage:
- Record audio for 5 seconds from the device
- Reference the recording in later steps using
${step1AudioFile}to play it back or validate content
- Requirements: scrcpy must be installed and available in PATH
Timing and Control
Wait
- Duration (required): Wait time in seconds (default: 1)
- Device (optional)
Advanced Editing Features
Coordinate Caching
- Cache Coordinates: Stores element positions for faster execution
- Cache Hit Rate: Improves performance on repeated executions
- Cache Sharing: Subflows inherit parent flow caches
- Advanced Cache Management - Comprehensive coordinate cache guide
Device Targeting
- Device Selection: Choose specific devices for step execution
- Device Validation: Ensures selected device is connected
- Multi-Device Flows: Different steps can target different devices
- Multi-Device Testing Guide - Comprehensive guide for targeting multiple devices
Step Validation
- Real-time Validation: Checks required fields as you type
- Field Dependencies: Shows/hides fields based on action type
- Error Prevention: Prevents saving incomplete steps
Dynamic Step References
- Variable Substitution: Use
${variableName}syntax to reference data from previous steps - Auto-Generated Variables: Text input from steps is automatically stored as
step{N}text(e.g.,step1text,step2text) - Syntax Format:
${variableName}where variableName is the stored variable - Arithmetic Expressions: Supports expressions like
${step1text + 1}or${counter - 2} - Use Cases:
- Reference text typed in previous steps using
${step3text}format - Use data captured by earlier actions in validation instructions
- Build dynamic workflows where later steps depend on earlier results
- Perform calculations on numeric values from previous steps
- Reference text typed in previous steps using
- Example: If step 2 types a value, step 5 can reference it using
${step2text}in verify_screen or other validation actions - Resolution: Variables are resolved at runtime and can be used in
targetElementfields for check_screen actions - Storage: Variables persist throughout the flow execution session
Best Practices for Advanced Editing
Step Organization
- Logical Grouping - Group related actions together
- Descriptive Names - Use clear step descriptions
- Consistent Naming - Use consistent element names across steps
Performance Tips
- Enable Caching - Cache coordinates for frequently used elements
- Minimize Waits - Use appropriate wait times, not excessive delays
- Device Selection - Match steps to appropriate devices
Debugging Techniques
- Step-by-Step Execution - Use individual step execution to isolate issues
- Validation Checks - Use Check Screen actions for verification
- Subflow Extraction - Break complex flows into testable subflows
Maintenance
- Regular Testing - Test steps individually after UI changes
- Cache Clearing - Clear coordinate cache when UI changes significantly
- Version Control - Track changes to critical automation flows
Managing Subflows (Advanced)
Subflows are reusable automation sequences that can be executed as part of larger workflows. They allow you to create complex automation chains by combining multiple flows.
Creating and Selecting Subflows
Using the Subflow Selector Dialog
- Access Subflow Selection - When editing a flow step, select "Subflow" as the action type
- Open Subflow Dialog - Click the "Choose a subflow..." button to open the selection dialog
- Search Subflows - Use the search bar to filter subflows by name or instructions
- Browse Available Subflows - The dialog displays:
- Subflow name and description
- Target device information
- Associated labels
- Pagination for large lists
- Select Subflow - Click on any subflow card or use the "Select" button
Subflow Execution Management
Managing Subflow Order
- Add Subflows - Use the Subflow Management interface to add subflows
- Reorder Subflows - Use the up/down arrow buttons to change execution order
- Remove Subflows - Use the X button to remove unwanted subflows
Visual Organization
The subflow management interface provides:
- Color-coded Execution - Blue borders for "before" execution, green borders for "after" execution
- Order Indicators - Numbered badges showing execution sequence
- Execution Icons - Play icons for "before", stop icons for "after"
- Hover Effects - Action buttons appear on hover for cleaner interface
Advanced Subflow Features
Coordinate Cache Sharing
When extracting steps to create a subflow:
- Automatic Cache Transfer - Coordinate caches are copied from the parent flow
- Performance Optimization - Subflows inherit cached element positions
- Error Handling - Graceful handling of cache copy failures
Subflow Validation
The system validates:
- Circular References - Prevents flows from referencing themselves
- Execution Dependencies - Ensures proper flow dependencies
- Device Compatibility - Validates target device availability
Bulk Operations
- Extract Multiple Steps - Select consecutive steps to create subflows
- Batch Management - Add multiple subflows at once
- Template Creation - Save subflow configurations as templates
Best Practices for Subflows
Organization Tips
- Naming Conventions - Use clear, descriptive names (e.g., "Login Setup", "Data Cleanup")
- Logical Grouping - Group related setup/cleanup tasks in dedicated subflows
- Modular Design - Create small, focused subflows for reusability
- Documentation - Include detailed descriptions in subflow instructions
Performance Considerations
- Cache Utilization - Subflows benefit from coordinate caching for faster execution
- Device Selection - Ensure subflows target appropriate devices
- Execution Order - Plan subflow execution order to minimize wait times
- Resource Management - Consider device resource usage when chaining subflows
Troubleshooting
- Execution Failures - Check subflow device compatibility and availability
- Missing Subflows - Verify subflow exists and is not deleted
- Performance Issues - Monitor coordinate cache hit rates and device responsiveness
- Circular Dependencies - Use the flow selector to avoid self-referencing flows

Previous: Getting Started